Well, my poor Team Wales socks are finally (almost) done!
Here is what they looked like when the flame went out:

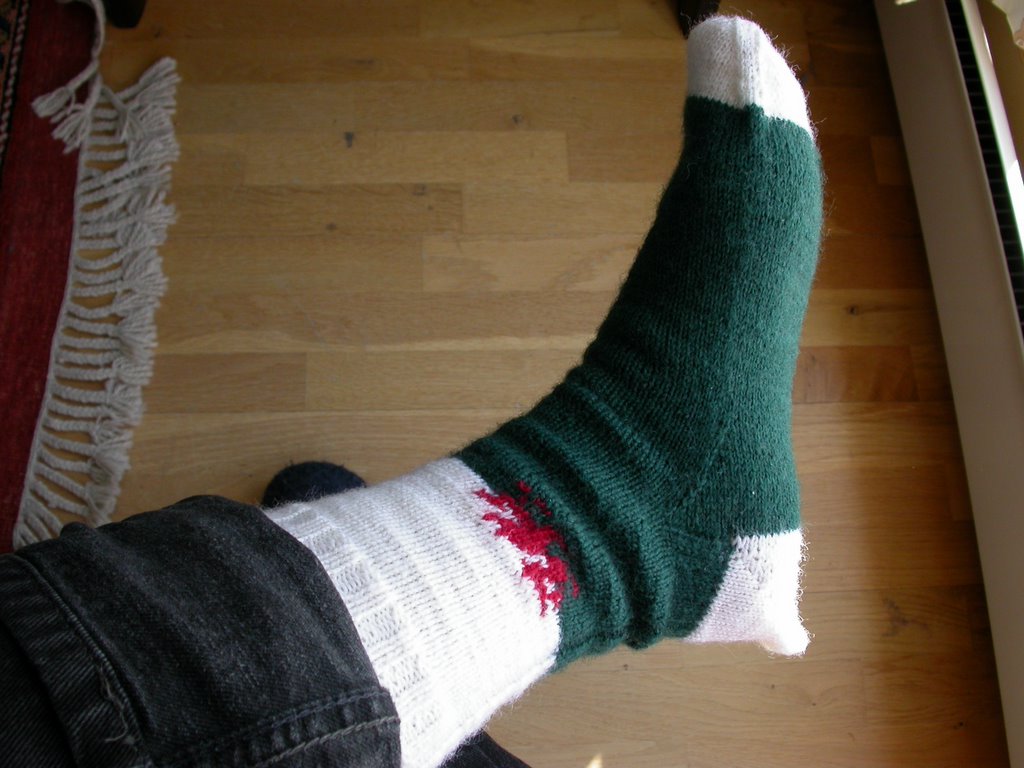
Here is what they look like now:

And why I say they are almost done:

The project was a success. I designed a sock and tried out several techniques that were new to me.
What I learned
When they recommend shortrowing down to approximately 1/3 of the original number of heel stitches, they know what they are talking about. I was knitting a 72-stitch sock, which means I was knitting the heel on 36 stitches. So I should have stopped decreasing when there were 12 stitches left at the center of the row.
However, I was following the Sherman heel at http://knitlist.com/2002/ToeUpSock.htm
which is knit on 26, not 36 stitches. I followed the pattern blindly all the way down to 8 stitches. Oops. 8 is roughly 1/3 of 26, but not even close to 1/3 of 36. I plan to try snipping a thread at the very tip of these pointy little heels and pick up a row of stitches on either side of the row with the snip. With any luck I will be able to tink and/or pick out stitches back to a more reasonable number (12) and kitchener these together. It will be interesting to see how the corner stitches behave.
Festive knitting worked very nicely for the dragons. Two details needed special attention.

Turning
I discovered that the red stitches at the beginning and end of each row looked best if I twisted the two yarns one white stitch beyond the pattern on either side. This meant that when I was slipping for red stitches and knitting white stitches I would knit one white stitch after slipping for the last red before twisting the yarns and working back. It is also important not to twist both coming and going. If you do, you can end up with a little red vertical bar that can show on the front.
Long floats
There were some very long stretches of red stitches, which would have resulted in very long white floats. When you are knitting two-stranded, you can pick up two or three stitches from underneath the long strand as you are knitting, which will anchor the float without showing through. When you are slipping and knitting, you can get the same result by lifting the long float up onto your lefthand needle for a couple of stitches. You just let it ride there while you knit those stitches, then let it slip off again.
The combination gusset and short row heel was also a success. I made the heel flap about the width of my thumb, in heel stitch. The heel stitch makes it stronger, but also pulls the fabric inn a little, so the sock is not baggy around the ankle. I slipped the first stitch of each row to make a nice chainlike edge to pick up stitches through. At my gauge with the width of my thumb, this was 14 rows, making 7 to pick up in each side. But before picking up stitches in the sides of my little heel flap, I changed to white and made a short row heel on the end of the flap. I ended the SR heel on the side where the green yarn was waiting
After the SR heel, I changed back to green and picked up my heel flap stitches. I decreased the gusset stitches in the usual way every other row until I was back to the original number of stitches. This small gusset eliminates the strain at the corners of the short row heel, and together with the short heel flap, is a nice solution of the problem that short row heels can be a bit too shallow.
Here is what they looked like when the flame went out:

Here is what they look like now:

And why I say they are almost done:
The project was a success. I designed a sock and tried out several techniques that were new to me.
What I learned
When they recommend shortrowing down to approximately 1/3 of the original number of heel stitches, they know what they are talking about. I was knitting a 72-stitch sock, which means I was knitting the heel on 36 stitches. So I should have stopped decreasing when there were 12 stitches left at the center of the row.
However, I was following the Sherman heel at http://knitlist.com/2002/ToeUpSock.htm
which is knit on 26, not 36 stitches. I followed the pattern blindly all the way down to 8 stitches. Oops. 8 is roughly 1/3 of 26, but not even close to 1/3 of 36. I plan to try snipping a thread at the very tip of these pointy little heels and pick up a row of stitches on either side of the row with the snip. With any luck I will be able to tink and/or pick out stitches back to a more reasonable number (12) and kitchener these together. It will be interesting to see how the corner stitches behave.
Festive knitting worked very nicely for the dragons. Two details needed special attention.

Turning
I discovered that the red stitches at the beginning and end of each row looked best if I twisted the two yarns one white stitch beyond the pattern on either side. This meant that when I was slipping for red stitches and knitting white stitches I would knit one white stitch after slipping for the last red before twisting the yarns and working back. It is also important not to twist both coming and going. If you do, you can end up with a little red vertical bar that can show on the front.
Long floats
There were some very long stretches of red stitches, which would have resulted in very long white floats. When you are knitting two-stranded, you can pick up two or three stitches from underneath the long strand as you are knitting, which will anchor the float without showing through. When you are slipping and knitting, you can get the same result by lifting the long float up onto your lefthand needle for a couple of stitches. You just let it ride there while you knit those stitches, then let it slip off again.
The combination gusset and short row heel was also a success. I made the heel flap about the width of my thumb, in heel stitch. The heel stitch makes it stronger, but also pulls the fabric inn a little, so the sock is not baggy around the ankle. I slipped the first stitch of each row to make a nice chainlike edge to pick up stitches through. At my gauge with the width of my thumb, this was 14 rows, making 7 to pick up in each side. But before picking up stitches in the sides of my little heel flap, I changed to white and made a short row heel on the end of the flap. I ended the SR heel on the side where the green yarn was waiting
After the SR heel, I changed back to green and picked up my heel flap stitches. I decreased the gusset stitches in the usual way every other row until I was back to the original number of stitches. This small gusset eliminates the strain at the corners of the short row heel, and together with the short heel flap, is a nice solution of the problem that short row heels can be a bit too shallow.
Labels: Team Wales Socks
posted by Elizabeth in Norway at
4:07 AM
![]()

4 Comments:
How nice to finally see your socks! Very impressive indeed! I used your chart to design my own pair of Welsh socks. I used a unique free sole pattern from Socks for Clogs and Sandals by Anna Zilboorg so I started with a green short row toe and centered the motif to change to the white background right at the end of the short rows. I did the same thing with the heel. I'm still working on the first sock. Mine are knitted with worsted weight since I prefer a thicker sock. Thanks for posting the chart.
By Anonymous, at 9:43 AM
Hi Elizabeth, I make all my socks pretty much as you describe. I start at the toe with a "figure-8" cast on. Then I make increases at each side of the toe every other row to my total number of stitches. Knit even (in pattern or whatever) up the foot. I figure 1 1/2 inches of gusset increases (on each side of the top of the sock)and about 2 inches for the heel. If you think about it, half the width of your sock is folded around the back of your heel, so it's easy to tell how much to allow.
I like to increase one stitch on either side every third row. This usually works out to about 5-6 stitches increased on each side. I leave these stitches delineated by markers on either side of the top of the sock.
I work a short-row heel (there are lots of ways of making these) on the heel stitches only. Work "short-rowing" down to a little less than half the sole stitches and then back up.
Then I work back and forth on the back of the heel decreasing out my gusset increase stitches on each side till I'm back to my original stitches. This is like a "mini-gusset" I guess.
I think it's easy to make these fit any size foot. I'd be glad to tell you more if you're interested.
By Anonymous, at 4:35 PM
Wow ... those socks look great! And thanks so much for your detailed explanations. It was very easy to visualize what you were describing.
By Dave, at 7:42 AM
Interesting Olympic Project you got here! I am sure you will do better next time!
Your explanation are great!
Isabelle :)
http://tricotine.blogspot.com
By ICJ, at 1:26 PM
Post a Comment
<< Home